The Patch 10.2.7 Hunt for the Harbinger questline prompted some rapid turnover of outfits during the past week.
Solemnity II


Simple Glasses, Mantle of Contained Corruption (LFR), Black Mageweave Vest, Fabulously Flashy Finery, Cloudburst Sash, Frontline Necromancer’s Leggings, Hexweave Gloves (stage 3), Volatile Walkers (LFR), Staff of Natural Fury
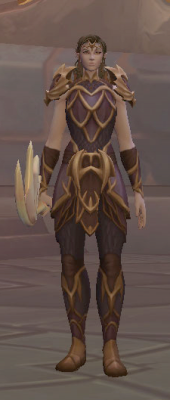
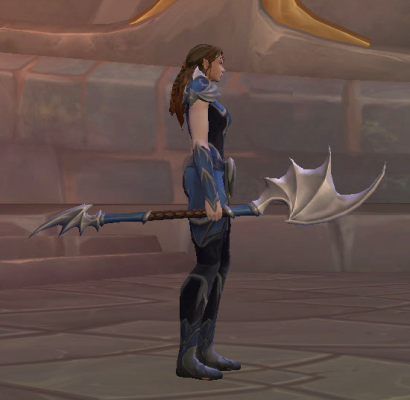
When Khrysanthemina first showed up (#34), I wasn’t quite sure who she was. Since then, she’s informed me that she’s Ishaleron’s kid sister.
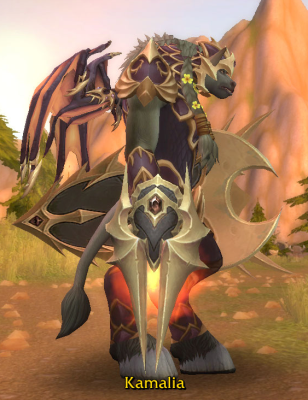
This outfit is an update of Blood Elf Warlock #67. I’d only had it Mogged for a day or two, though, before Khadgar summoned Kaelyla to meet him and Alleria Windrunner in Dalaran…
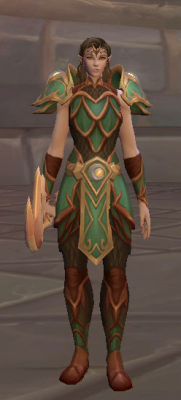
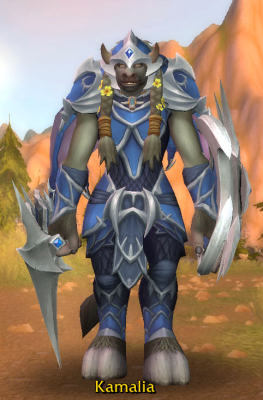
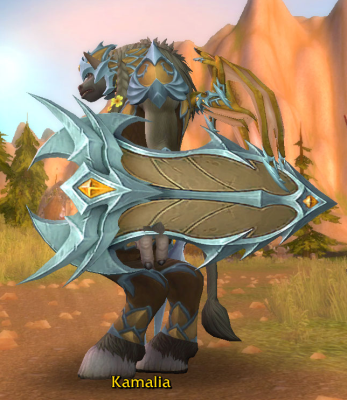
Locus Researcher


Wrathful Gladiator’s Silk Amice, Wrathful Gladiator’s Silk Raiment, Wrathful Gladiator’s Cord of Salvation, Silent Slipper of Meditation, Aluneth (Balance of Power, tint 2)
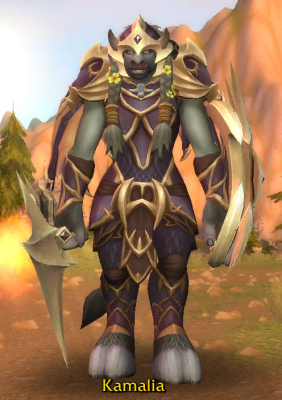
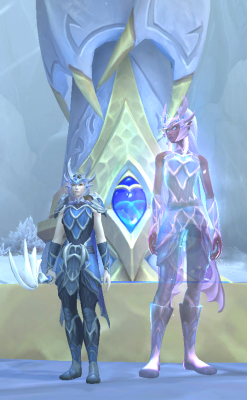
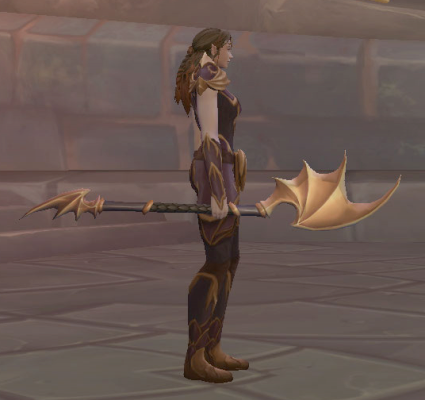
This outfit is worn by various Ren’dorei NPCs. I’ve been meaning to have Kaelyla wear it since I created her, so the Patch 10.2.7 questline to join Alleria Windrunner in a search for the mysterious Harbinger and Dark Heart artifact was a perfect opportunity to do just that.
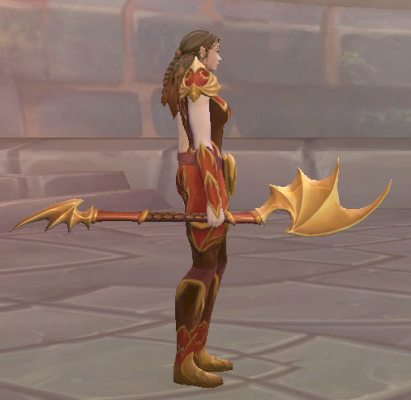
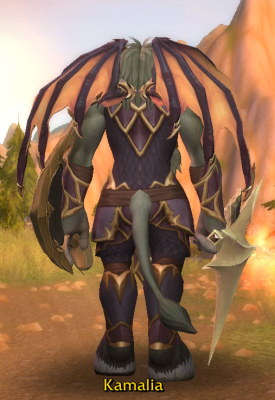
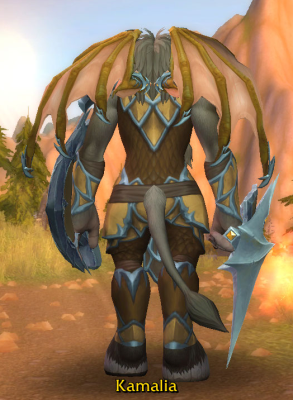
Ren’dorei Spellsword


Heritage of the Ren’dorei with Harvester’s Court Hood, Darkfeather Cape, Rich Purple Silk Shirt, Voidtouched Scimitar, and Voidtouched Apparatus
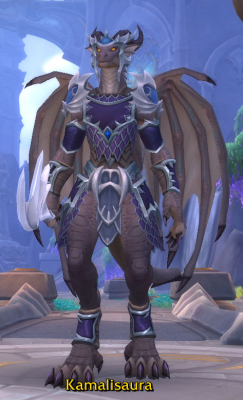
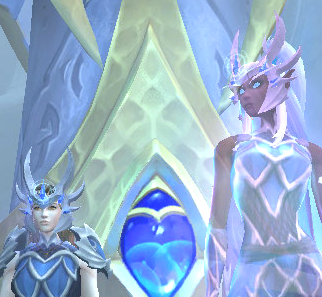
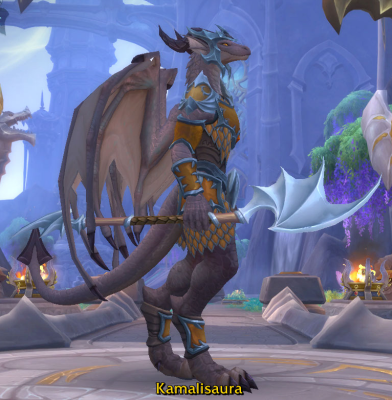
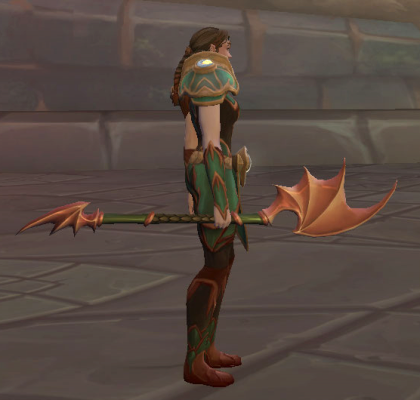
…And then because the Hunt for the Harbinger questline awarded void-themed weapons that matched the Ren’dorei Heritage Armor, naturally I wanted to use them right away.
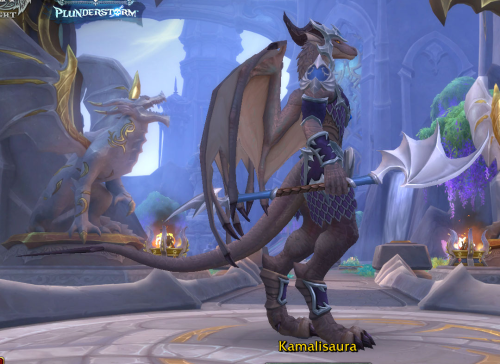
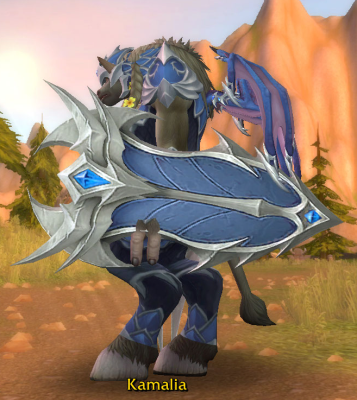
The void scales for the Winding Slitherdrake were a mid-questline reward from the Hunt for the Harbinger.
Silvermoon Scholar of Obscurities


Dazzling Spectacles, Robes of Fluctuating Energy (M), Belt of Blind Devotion (LFR), Soulbreaker’s Crimson Slippers, Staff of Dominance
Like Naleidea Rivergleam, the Silvermoon Scholar NPCs found in Telogrus Rift — which Kateleina, as a member of the Horde, was able to visit while on the Patch 10.2.7 Hunt for the Harbinger questline — are wearing the Mythic version of the Nighthold Mage Tier robe.
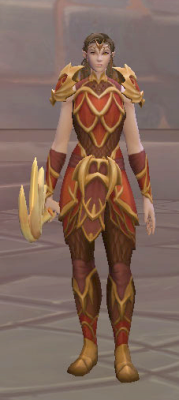
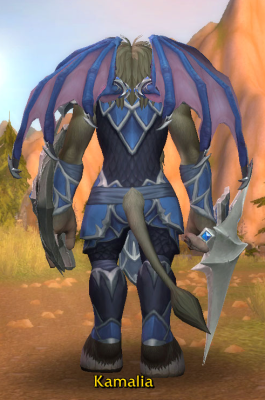
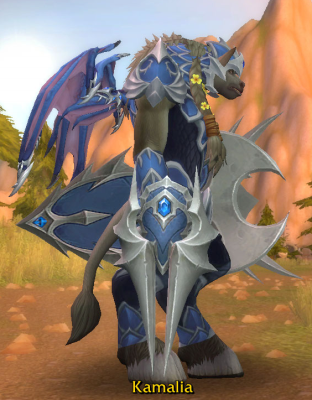
Sunstruck


Gilded Sunglasses, Yaungol Deathcult Shoulderguards, Suncrown Breastplate, Gleaming Gloves of Unrelenting Justice, Green Plate Belt, Initiate’s Pants, Gleaming Treads of Unrelenting Justice, Sunny Floral Staff
Making a Dual-Wielding kit with this staff for my Fury Warrior was an irresistible idea. I’ve saved this outfit to use for the “Summer” theme in the next Trial of Style.
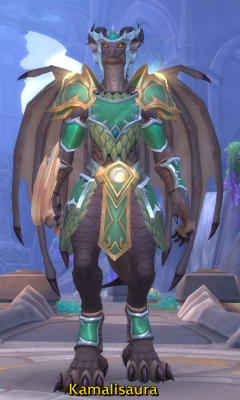
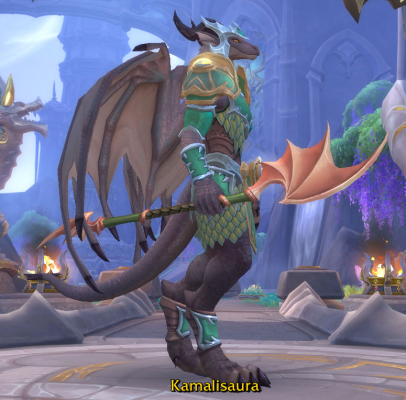
Mysterious Moon


Cenarion Thicket Helm, Moonlit Mantle of Unrelenting Justice, Bonelink Armor, Moonlit Gloves of Unrelenting Justice, Moonlit Belt of Unrelenting Justice, Formidable Legguards, Moonlit Treads of Unrelenting Justice, Staff of Divine Infusion; Dracthyr Body Armor Color 6
I’ve seen white-scaled Dracthyr with the white and silver body armor and silver shoulders and belt around Valdrakken, and it looks rather magical. The “night” version of the Warden set seemed like the shoulders and belt to use. Finding other pieces for the Visage form version of the kit was more challenging than expected, however, because most “silver” mail has warmer, rather than cooler, undertones.
~*~*~
This series of posts began because I set myself a goal to document new Transmogrification outfits in a more timely fashion. As soon as I create a new outfit, I write it up in a draft post. As the weekend approaches, I start working on taking fashion screenshots, processing them, and updating “Things my [Class] Wears” posts. On Sunday — though not every Sunday — I publish the collection of my recent efforts. Then I begin the next “Sunday on the Promenade” draft post.
Occasionally, I have ideas for themed Transmogrification collections that take several months to completely assemble. Thus, some of these outfits might get re-posted at a later date as part of such a themed Transmogrification collection.